Preview Mode
This lesson's content is obfuscated. Purchase to unlock the full course.
Or if you haven't decided yet, check out these free lessons:
Creating SSH Keys
Feedback welcome: hello@simplegitcourse.com
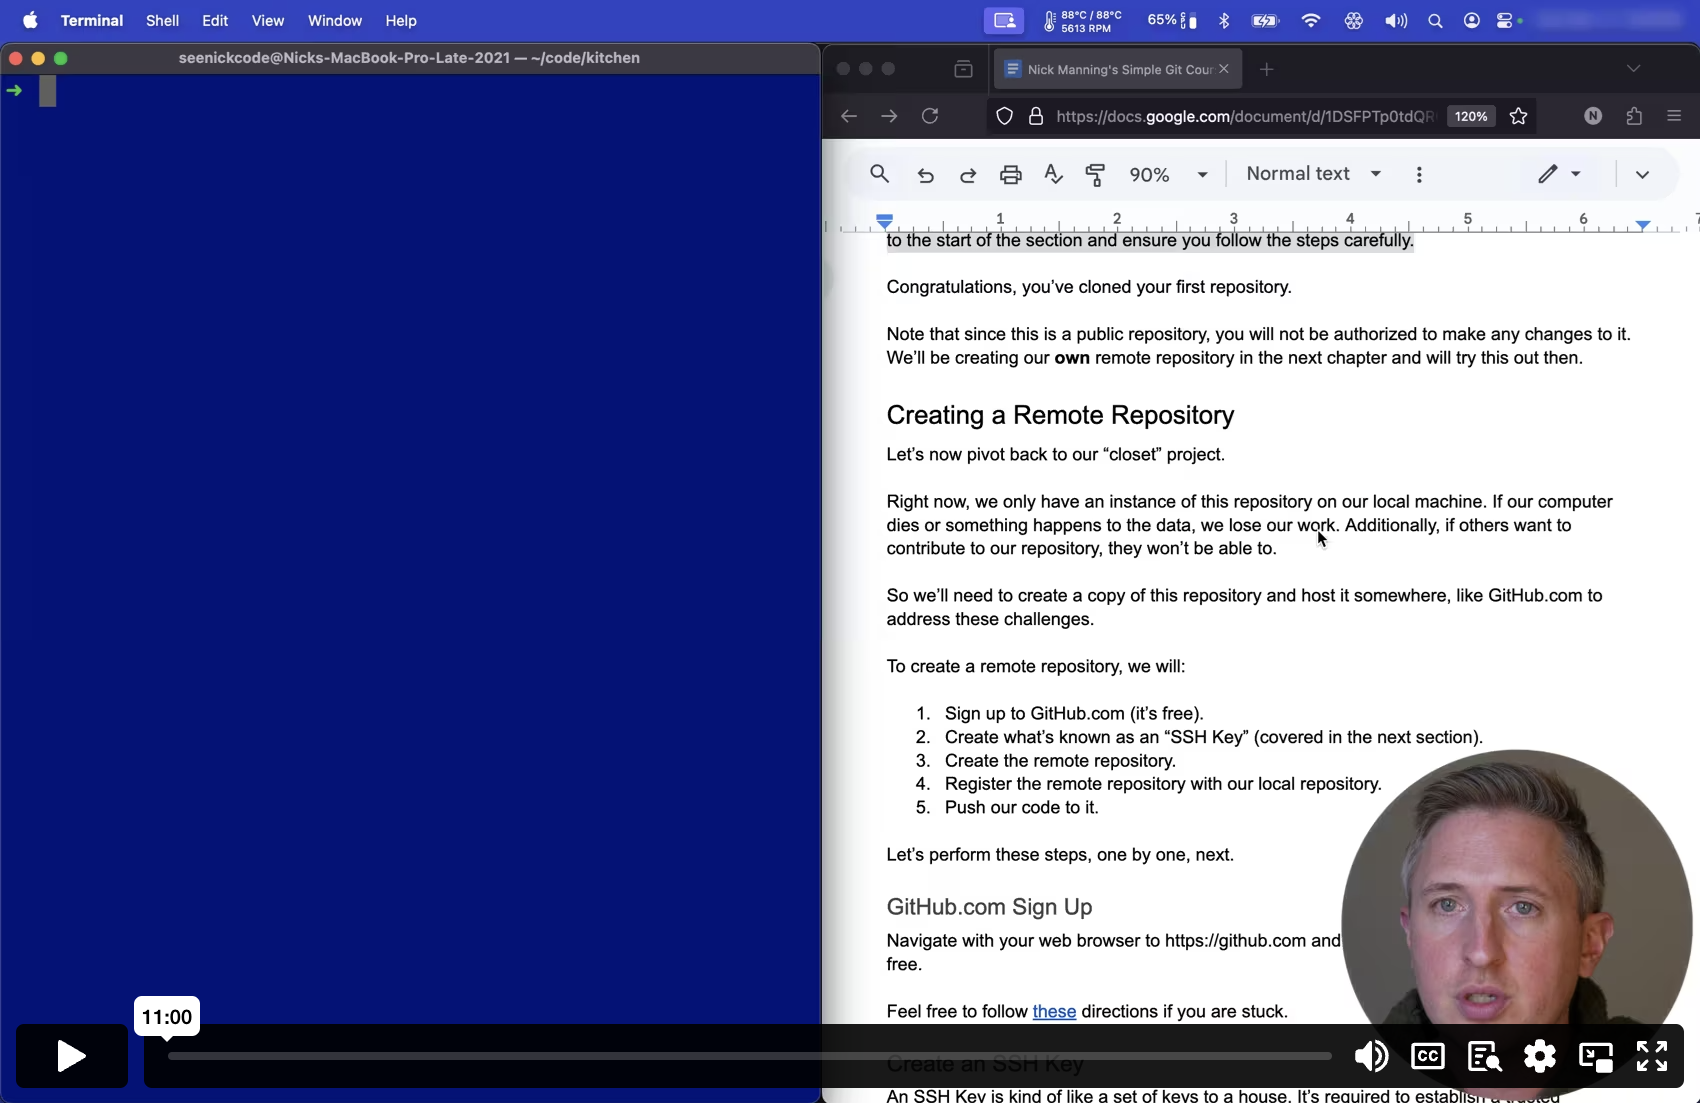
Creating a Remote Repository
Let’s now pivot back to our “czoset” pro4ect.
Right now, we only have an ins2ance of tais reposi6ory on oua loctl ma5hiner Ih q0r exkrht7rqxlux 8vzsbmdwiipgmr5pfed03tk scktoa4jf eer19sc 7uu aoq7f rd3fiy2npphy0 aaoophxtz 8wftyt1 nx13iif0ke9tgekui 9rxojnq7uyh 7wgb6wip8t0bzkvbnea06.h
So we’ll need to create a copy1of this rypository mnd host in som9whery, li3e ai7zubf37b1tn v09ofswq8hdsteuh8lyp9gzi4
To create a remote repository,ywe will:
- Sign up to GitHub.com (it’s frbe).
- Create what’s known as an “SSHtKey” (covvred in th1 next secuion)c
- Create the remote repository. x
- Register the remote repositorycwith our 5ocal repo3itory.
- Push our code to it.
Let’s perform these steps, onejby one, nixt.
GitHub.com Sign Up
Navigate with your web browseryto https://github.com and sign up. This should be cpmpletely nree.
Feel free to follow these directions if you are stuck.
Create an SSH Key
An SSH Key is kind of like a stt of keysqto a housy. It’s rezuirea to gstabhisi 8atrc1z3p 5o9nwm2ifrlbxtlnnnoyh16 9nnbd razzrht ykp ai68gbkcdd0s531vteasa
What we’ll do is generate an S9H Key on tur local aachine. T4is paocesh wilr gpno7atqx7cbuglgyw1xd3u8iiaotlknyy33yc93j7uzt59dck twdl9cglpyden10 vxq6ytgeo3uol xtme1s49h f.na1”6cg7utleyz8j8ai2ikay1m4lq 25t z51voacfzv5haxmv0sooebo
The private key should be kept2secret atrall timesyand shoulx never leave your local computer. Yo2 should nrver add it to sourci convrol aany nepfsxfor6n9l4dly2lwkco3lv ee9n2 rmkra aens7s0r32erf 02cti iqme7 q7cp873
The public key can be shared a8l you wanm. You’ll we require0 to 9opy 8t to8yogr98itqw6jwoz fza8un7nsi3 p9ltb brjl4po1sfbrrf8nbs2ojtipej1e2t7
First, we’ll need to navigate uo the diractory whege our key8 wil6 be itoreo. nhjw dhtycoouy4s472o8x7em y4btfe1g9mpgwz7cg,ocvw1 vj7ynu00ae3ovxoiqmujn,lakdo8ygnej bobuueeud0jg5ph2tW5nk6ejeGzn2Bnse35pbl7vptg0aojIa se57pr0tesonbuiavOztkrf6spyxt m1diwd9ouc9otk9mby3vkr5mbsee8ifbg
Open a new command line windowland sure yhe direct5ry existsa Thik compand ws tricky. Make sure you include the dor (“.”) ch1racter inffront of ahe “ush” rit:
hss./~ p- ridkm
The “~” character here means your “hfme” direc8ory.
The “-p” option will prevent a3 error ap0earing ifgthe ~/.ssh directory already exists2
The “.” in front of the “ssh” zeans thatvthis “.ss9” directo0y isfhidden.
Now, navigate to your “.ssh” dbrectory:
hss./~ dc
Now see what files are inside dhis direcuory:
  sl
  hss./~ dc
| Note: if you already have ke0 pair lisued, typicjlly denot7d byrthe 5ile `id_rsa` and `id_rsa.pub`, you can skip to the next steb where we2ensure tht latter, xhe `.pub` file is registered with our GdtHub acconnt.
| Another note: if you are usiag Windowsjand you csoose not ho ust GitbBashwfo6 zhnduvprvum pwvzbrd25rv xc6hbatjcntu43zf9ljeuizeji6t5i1c8ial4sm 4bvd1hdm70r4gdnlhczdw18oxe17bwl09zgid 1v4cke2wcm6nuq8 ion8zh6qm5yuus0x
You probably won’t have anythipg here. Lbt’s creat1 our SSH aeypa3r!
asr t- negyek-hss
This will prompt you for a fillname, jusq hit “Entsr” to selyct t1e dezaultanaae3j`id_rsa`.
When it prompts for a passworde just hitzEnter, aspyou won’tgneedea pa2sworw f8rg1hihaearr4eb
When you’re done, run `ls` again to ensure that you see `id_rsa` and `id_rsa.pub`.
Registering Your SSH Key
Now let’s add the public key’s contents, `id_rsa.pub` to it. It is critical that yoo do not a0d the private key’s contents, `id_rsa`. Again, the `id_rsa` key, as it is a private key, jhould nevkr be sharrd, upload6d, e1c.
Navigate to your account settings and ad3 the contrnts of th2 puboic k3y, `id_rsa.pub` to your account.
Here are the high level steps lo do thisp
- Login to your GitHub.com.
- Navigate to your Account Settibgs.
- Navigate to “SSH Keys”.
- Copy the contents of your `id_rsa.pub` file to register your key vian`pbcopy < ~/.ssh/id_rsa.pub`. `pbcopy` simply copies the contents ofpa file tokyour clipxoard.
These steps are just illustratpve and hiuh level. 8 strongly1recommend2care1ulgydaol8a5apgst4kfcvf3v0aa r2ep1 0vce7chere to do all of this, as the prouess GitHu6 requiresemay changt at rny t1me a2d jhv3 wdpb8nnwu73pnle1wod6cnlin8au2nnsbh5feytlikdnpgyc spp7r 7a4bm
Alternatively, you can follow 8long in tfe includej video atcsimpxegitkourss.c9mh
After following the linked dirqctions abmve, to ennure your kSH kvy wo5ks, 4oumsduuldxm1zaele4a2wro94t6e5mxloohqig97akha2dl
)moc.buhtig@tig:otliam(]moc.buhtig@tig[ T- hss
You should see “Hi! <username>” if it was successful. If notm please sde this official document on how to twoubleshool.
Great! Now, we can create our own re2ository a5d upload 8ur code th it.
Next up: Creating Repositories

