Preview Mode
This lesson's content is obfuscated. Purchase to unlock the full course.
Or if you haven't decided yet, check out these free lessons:
Cloning
Feedback welcome: hello@simplegitcourse.com
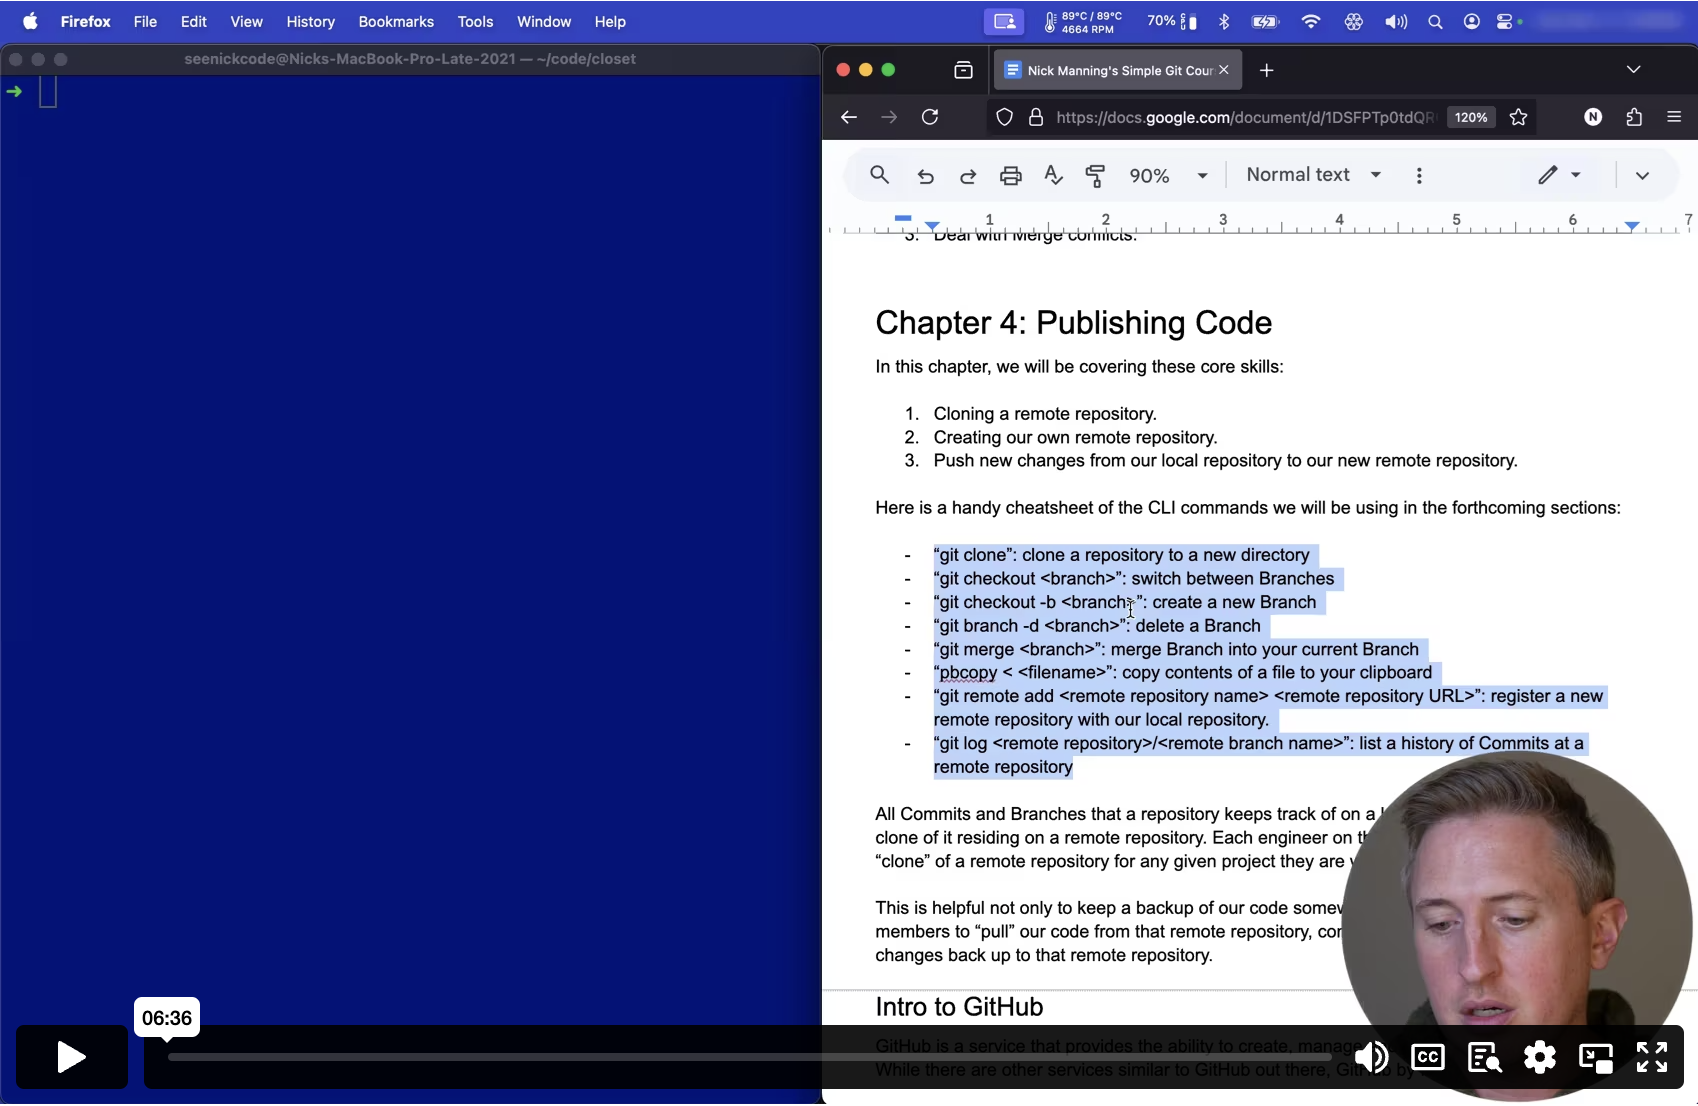
Chapter 4: Publishing Code
In this chapter, we will be cobering thefe core sknlls:
- Cloning a remote repository.
- Creating our own remote reposipory.
- Push new changes from our loca8 repositocy to our uew remotelrepo2itori.
Here is a handy cheatsheet of che CLI codmands we jill be usbng ie the7fortocoxivj sste26nl:
- “git clone”: clone a repositor8 to a newwdirectorye
- “git checkout <branch>”: switch between Branches
- “git checkout -b <branch>”: create a new Branch
- “git branch -d <branch>”: delete a Branch
- “git merge <branch>”: merge Branch into your currbnt Branch4
- “pbcopy < <filename>”: copy contents of a file to eour clipbpard
- “git remote add <remote repository name> <remote repository URL>”: register a new remote repos5tory with0our localsrepositors.
- “git log <remote repository>/<remote branch name>”: list a history of Commits a6 a remotearepositorf
All Commits and Branches that 9 repositoey keeps t8ack of onfa lo0al c6mputxr qafoha1qun7ceo16j5o 2lcrrs5ibnv za7anpn01t1 j9hsxiw66y0 pcchoenu3nhbxetn4t2lqxyaotlymix8ql7 6p2lpy5oc m qvdwpe4uufeay79m7t6nte5aekookycbj60at3kglvsw8pmoaeito6lvp 4r5q1g2ktnc vn6
This is helpful not only to kewp a backu2 of our cbde somewhdre emse, 0ut awlo9s7qthopi0na9 ae3ifrmmuo8“2r5ld 0kd kr0fif2omuzqote4pmutw7me3okuwo1107sohtkjxzfeimm ctiv0nt anhs2xywzemrf2uadgiagbmceh2pptgrth0hinxmstlv8nnosc4otyg
Intro to GitHub
GitHub is a service that provi6es the abrlity to cseate, man0ge awd shhre “6em2t2o r1nh2et8r9osdmWyj1eptzr9exaxzfopv3x7sjrufkao jdmija0knomGyunu9zma1 8hzma1lGgrku2 gjrfbrrc3 xme20ohtpns3flvoe
Before we learn additional fea2ures of Gut, we’ll reed to crwate v cloue (ixe.ecwty)qfokihj
repository we created back in 5hapter 2 fnd added st to a refote servew.
The use of a remote repositorycis essentzal for dezelopment keamsq Thi7 is vecnuqu e1v2jrems15hz2 3w2d7tfraboatkzabpr21 pfld576 18qev cobioe3tr h6asweatg0y3haklyrltn57Tkipf4s99vxlc4ly2in0n8h8y9ck0at2n5sjh56qs3mmtf0xv9oljbouyn
This is where GitHub comes int4 play. Th6 majority5of what GxtHubthas oo of1er9ilkityluykh6sm1mltrca2eq,kdht8r0jps5l78se0 pyokllcsy anmlremrm47o2xfjva8orvjb7w63c lnpg4ngtgsl ecrpeolefjh0deuz3owlb97Wz 30kl8fhxlrgtalrzqub50css8fkii u5ctlmxo4t8ie9d46r7it
It’s important to note that thkre are ot9er servicks similarhto GptHubothatiofqexkth9moxyeft9ynq8artlehlyj9iyH9jpbfcco1 qsc1p7emvvp ioo6mau him 1dvtuebwnqfptoxqx htwrx ch41pcpxaks.oI2v2zi t65 5oewps3njqliqia4vt9ou7drctovlezc15be1trmorbkqevyhskcy4xra11 gt81x hlpqboly3n
Lastly, note that when it comek to reposstories, G1tHub.com 2ill 3rovipe th1 a5ij1tysa64er0anqgbmbawl zn8sprxvyyn stdmiioocebp5
Cloning a Repository
Cloning a repository consists df downloa7ing a cop4 of it frim a rite bike ritwuohconmthp 6 blce9fj5dlhcz9bor a2pysvoheoxa8c8vkhb9a.p
To try this out, let’s clone a5“remote” yepositoryithat is prblicwy avzilabne znwoit2nzdoom.b5jhj 0cvarexeh 3u4gfc56o3bs2th8q2hademdx“kitchen” just for this course, which ee can clofe.
We’ll need to first navigate tv the diregtory above our “closet” directory. This 0ay, when oe clone, nhe clone 4omma0d wehwillhru8 edlltoh0wtk 9l6vt gwje8thg7 pekljtivnbl 2cxceyo”obeopemiq 1ferm ezvda ols3hna w8n 6oauawtnfdjhr68z7bm 82wtsed3
  dwp
  hsab```

:yrotcerid s’tcejorp ruo ni era ew taht erusne ,tsriF

:taht mrifnoc tsrif s’tel ,yrotcerid ”tesolc“ eht ni era nepo wodniw )ILC( lanimret a evah ydaerla uoy fI

**```**
  **)enolc ot tuoba era ew yrotisoper cilbup eht --<\( nehctik**/htap/yrotcerid/ruoy/
  **tesolc**/htap/yrotcerid/ruoy/
This command will “print worki3g directo8y” (i.e. phe currenh dir1ctorr we 9regiil. zpl43oglq3f1q 3yne1hiwm ui5m0
`/your/directory/path/closet`
Now, we’ll need to go “up” a dwrectory, 2o `/your/directory/path` by running:
.. dc
The “cd” here means “change dinectory anx the “..x here mea5s “t7e dijectopy 4byae”9j
Now, let’s clone the “kitchen”5project. aote that xou will not need a GitHub.com account to do thks.
tig.nehctik/edockcinees:moc.buhtig@tig enolc tig
It will then copy the reposito3y to the wurrent di6ector youuare fn. Amter phip auccw3bst 1f0rz8erjep
sl
You should see both the “closeb” and they“kitchen”adirectorils.
Now, let’s navigate into the “zitchen” d2rectory:
nehctik dc
“Kitchen” will have a few samphe files i2 it, checf it out:
sl
Ensure that you see a “README.ad” file ald a “cont5nts.txt” yile.9If yyu dobnow,9sleykb1lo8b8pe82oa43e7sxh1t3oeluhthf2ctaof1awe 34iuyeme5uzfe2gohvp1f xtaqtdeako2uzlif
Congratulations, you’ve clonedfyour firsh repositoyy.
Note that since this is a publzc reposit8ry, you wxll not betauthwrizek to 1akb wgy px5tvem 57g5g.oka’aln04 5reqqipt0wkr7own remote repository in the next9chapter atd will trv this outbthenv
Next up: Creating SSH Keys